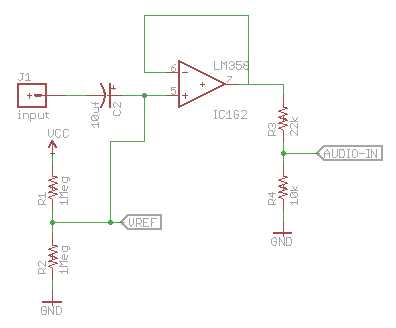
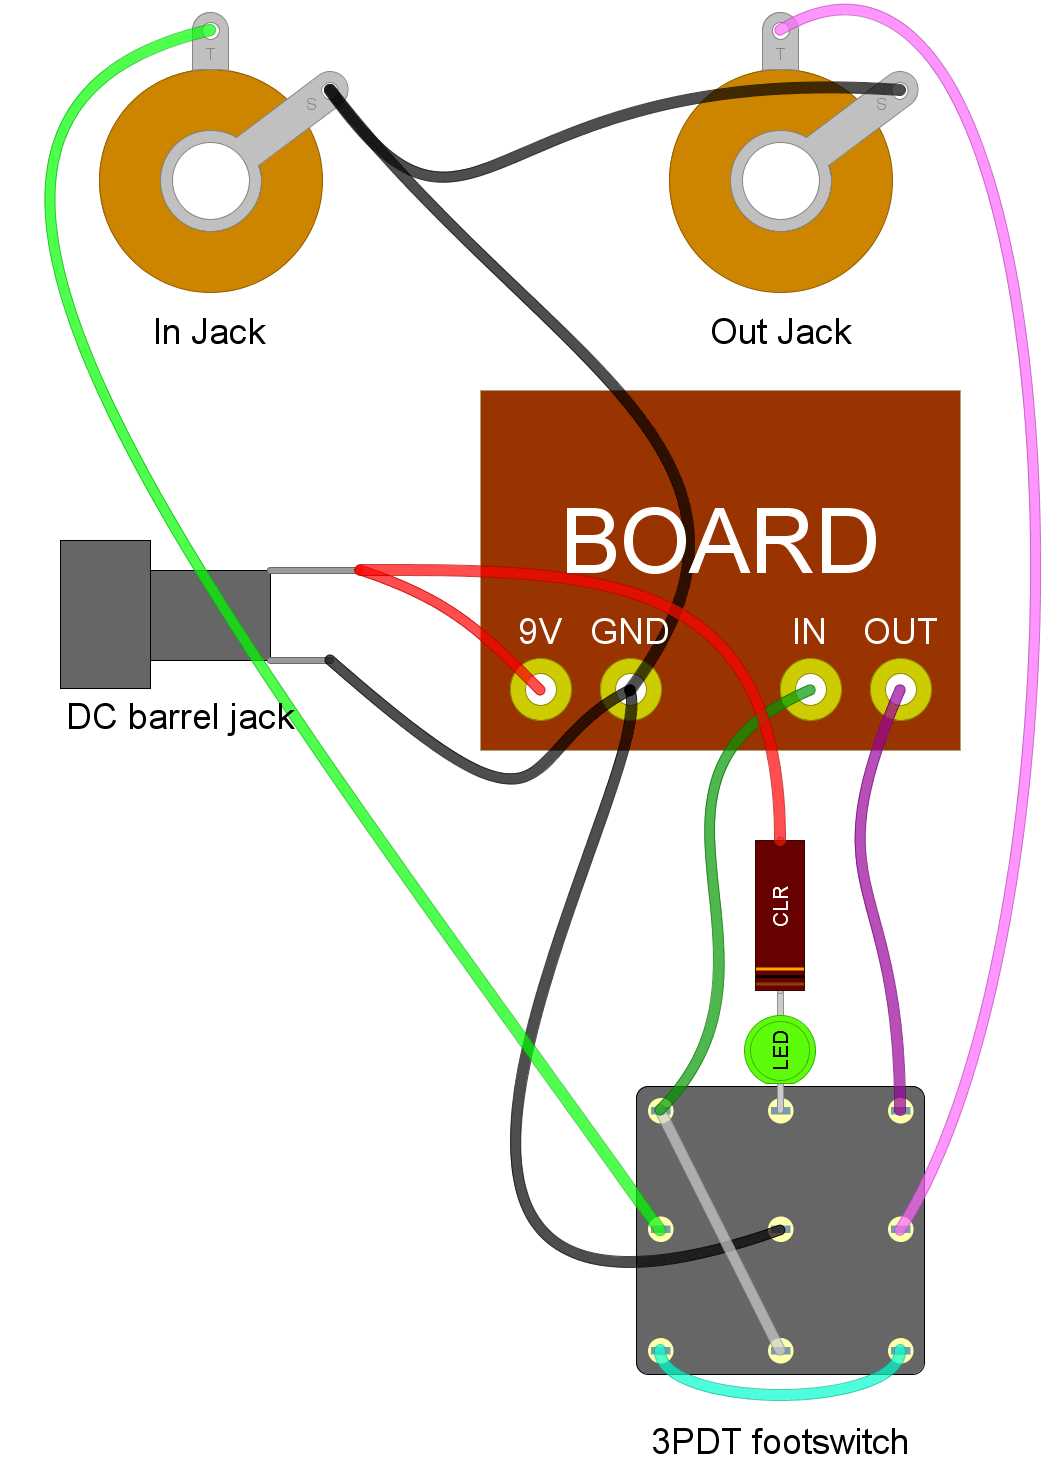
For a well-functioning echo effect, focus on the specific wiring connections between the core components. Begin by ensuring that all power sources are disconnected before making any adjustments. Each element, from the input and output jacks to the integrated IC chips, must be connected with precision to avoid signal loss or distortion.
When wiring the delay mechanism, pay close attention to the capacitors and resistors, as these components directly impact the delay time and feedback loop. A common mistake is improper grounding, which can lead to unwanted noise or interference in the output. Ensure that all ground connections are secure and properly routed.
Lastly, always test the setup with a multimeter before connecting the full system to a power source. This step will confirm that all parts are functioning correctly, and help avoid short circuits or malfunctioning outputs. By following these steps, you can ensure a reliable and high-quality performance for your delay effect unit.
Delay Pedal Circuit Diagram Guide
To build a functional echo effect, begin by selecting the right components for the input and output stages. The input should be connected to a buffer circuit, which helps maintain the signal quality and prevents any degradation. Choose resistors and capacitors that can handle the frequencies you intend to process, as these will determine the clarity of the result.
The next step is to connect the delay chips or ICs that control the feedback loop. These components directly impact the length of the repeated signal. Be sure to use high-quality ICs designed for audio applications, as low-quality chips may introduce unwanted noise or distortion.
Setting Up the Timing Circuit
The timing section, which determines the delay duration, requires careful attention. This part of the setup typically involves a variable resistor or potentiometer to control the delay time. It is important to test the range of this potentiometer to ensure smooth transitions from short to long delays without distortion or cutting out.
After wiring the timing circuit, ensure that the feedback loop is connected properly. The feedback controls how many times the delayed signal is repeated. Incorrect feedback values can cause the delayed sound to either fade out too quickly or loop infinitely. Use a resistor to control the amount of feedback and achieve the desired effect.
Testing and Troubleshooting
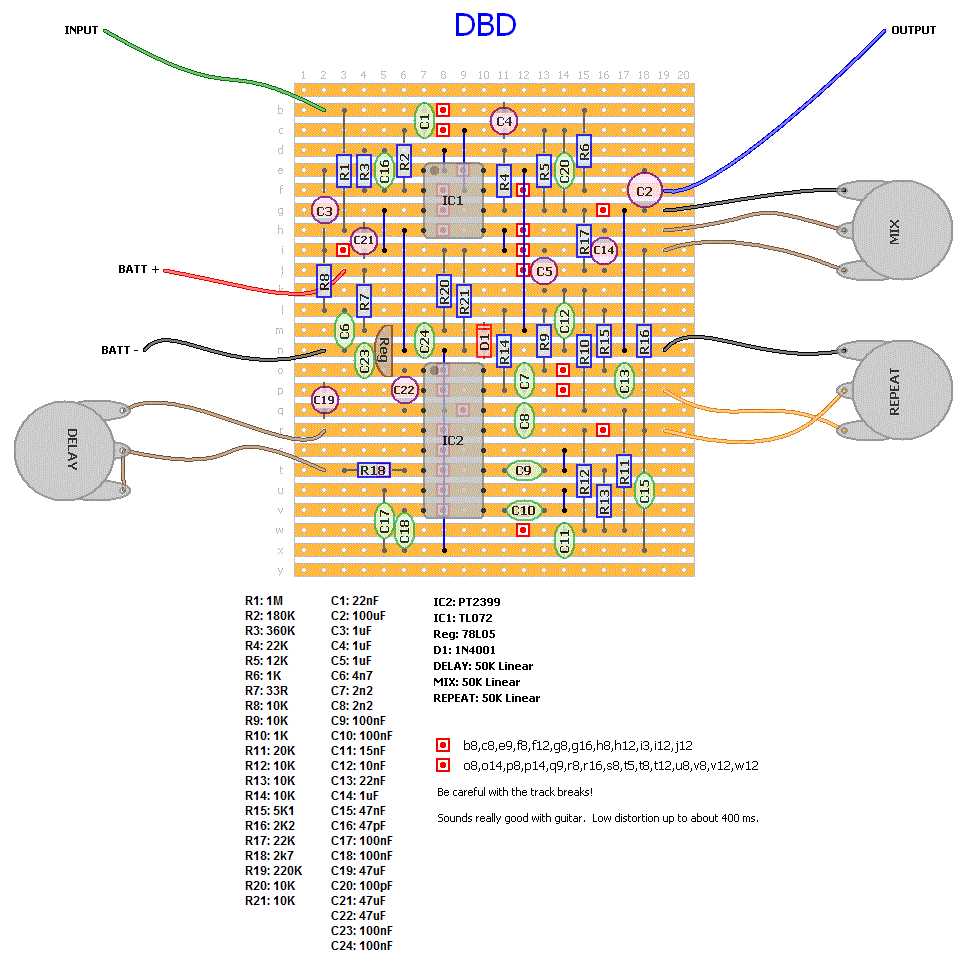
Once all components are connected, test the entire setup with a multimeter and signal generator to check for proper signal flow. Look for any interruptions or unwanted noise that could indicate a faulty connection. If the sound is inconsistent or distorted, double-check the ground connections and component placements.
Finally, once the pedal is fully assembled and working as expected, consider adding additional features like modulation or a tone control circuit. These extras can further enhance the sound and provide greater control over the final output. Make sure to isolate the power supply and check the voltage requirements for each part before powering up.
Understanding the Key Components of a Delay Pedal Circuit
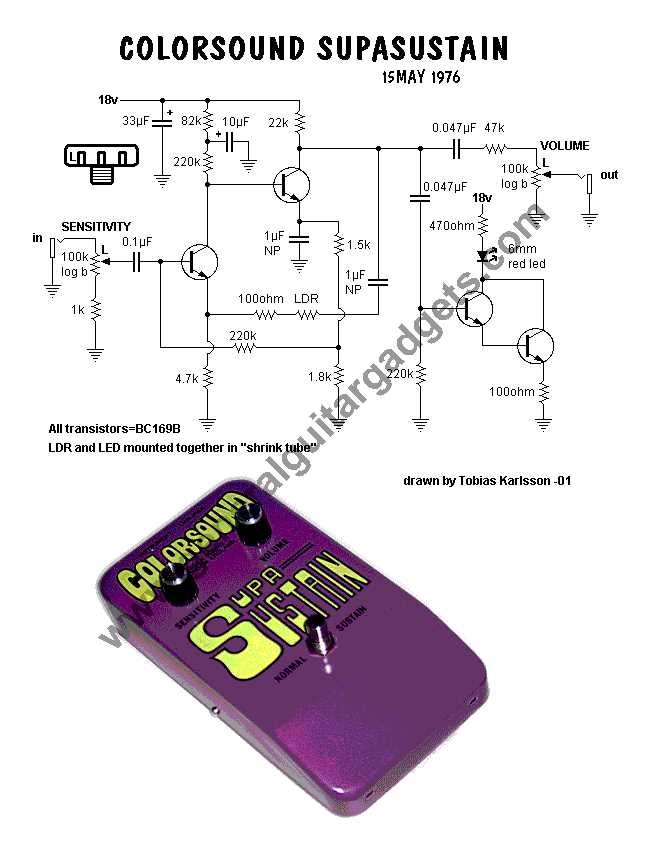
The most critical elements in any echo effect setup are the buffer stage and the delay IC. The buffer is used to prevent signal degradation when the instrument is plugged in. It preserves the integrity of the original sound as it enters the effect unit. Make sure to choose a high-quality buffer to minimize noise and loss of detail in the signal.
The delay IC is responsible for creating the repeated sound. Popular chips for this task include the BBD (Bucket Brigade Device) or digital delay ICs, depending on the type of sound you want to achieve. For analog-style delays, the BBD ICs are often preferred due to their warm, natural sound. Digital ICs, on the other hand, allow for precise control over the timing and clarity of the repetitions.
Additional components such as capacitors, resistors, and potentiometers play a vital role in shaping the delay effect. Capacitors control the frequency response, while resistors help define the delay time and feedback levels. Potentiometers allow the user to adjust the delay time and feedback in real-time, providing more versatility during performance. To fine-tune the setup, experiment with these components to achieve the desired sound quality.